
Garage Restoration 2019
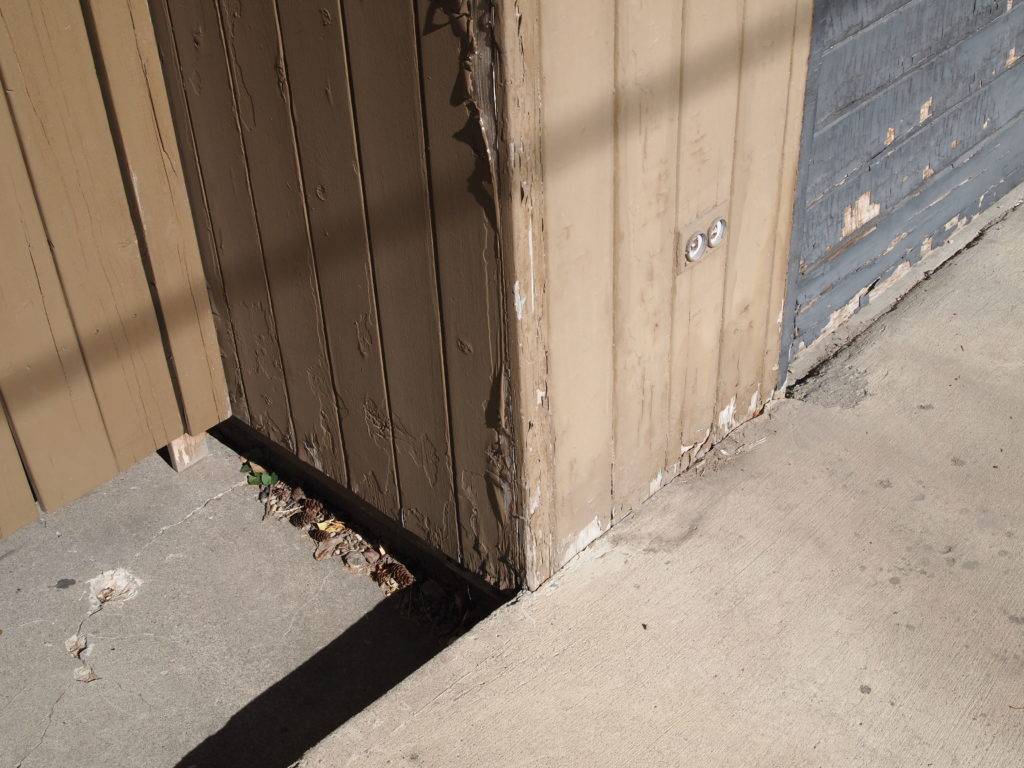
In the fall of 2019 work got underway to restore the original garage on the Calgary Trend House. At some point in the last 60 years, the ground under the slabs in the breezeway and the garage had settled unevenly, with the result that water was collecting in the garage, and it had pulled the roofline down at that end, so there was a noticeable ‘kink’ in what was a perfectly level roofline across the front facade.
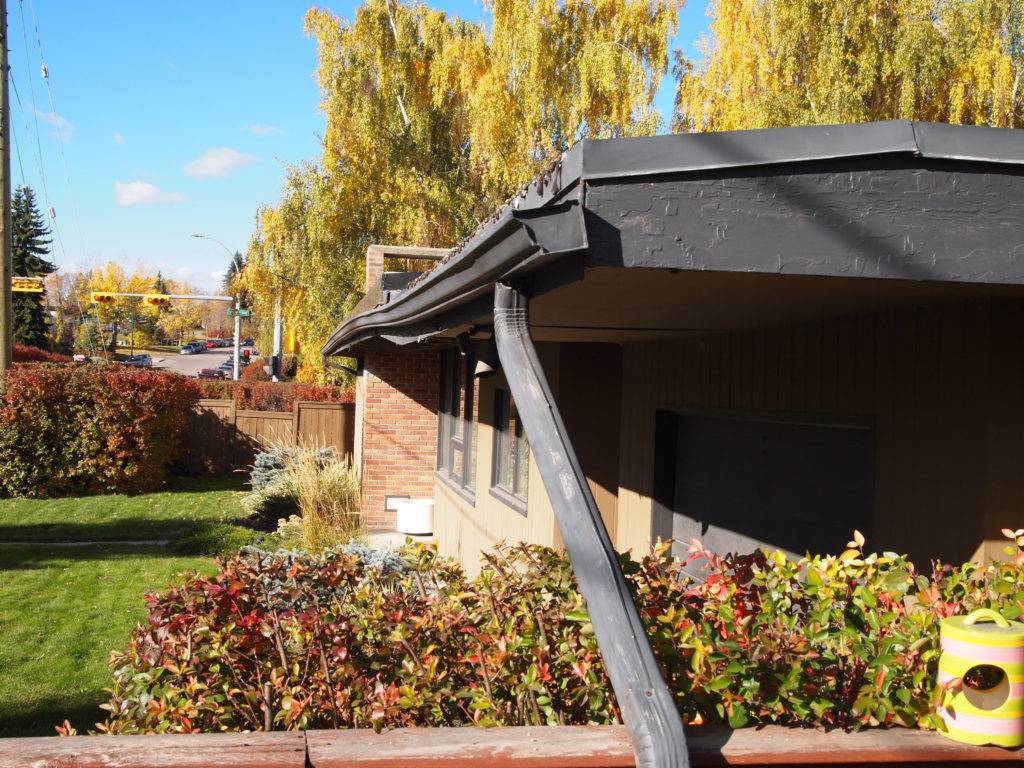
Dave Chalmers and his team at Chalmers Heritage Conservation led the project and did an incredible job bringing the garage back to it’s original state, managing to save over 80% of the original materials.
The basic plan for the project was the following:
- Remove the existing tar and gravel roof
- Detach the breezeway from the house
- Remove the exterior cedar siding, number and bring back to the shop for stripping and refinishing with the linseed paint system
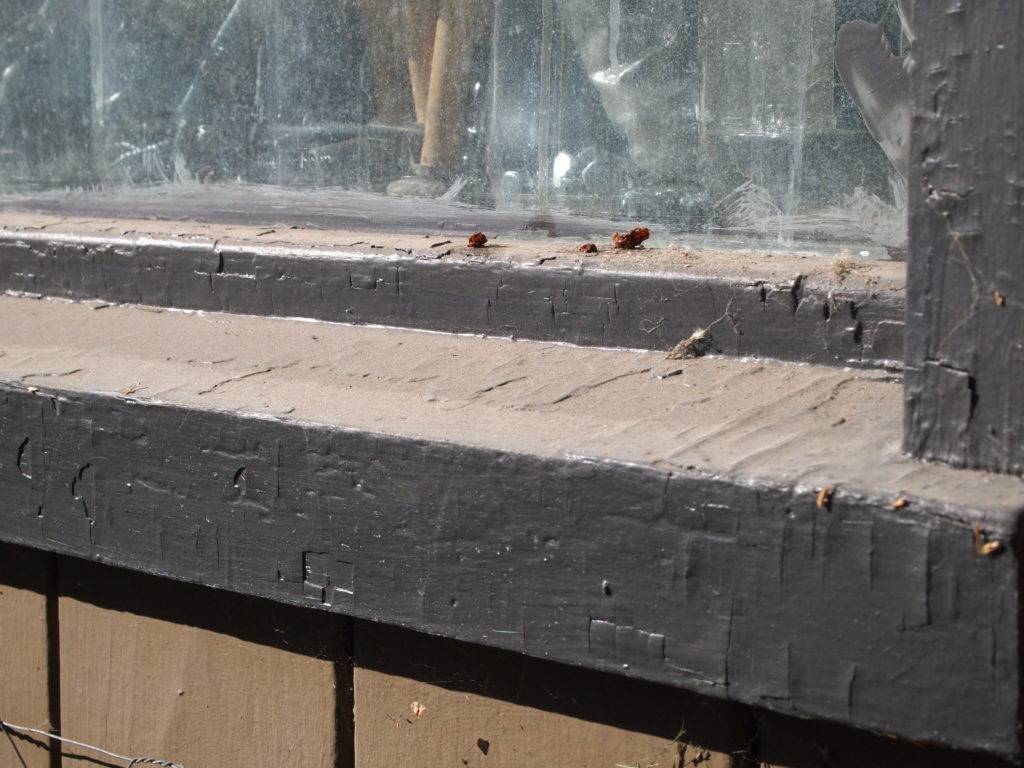
- Remove the doors and windows and bring back to the shop for refurbishment
- Remove the interior panels and store on site
- Remove the roof trusses and store on site
- Detach the four wall panels and store on site
- Break up the existing garage slab, driveway and breezeway slab
- Excavate and create the forms for the new foundations
- Pour the new foundation and frame new sill plates on top of it
- Reattach walls to the new foundation
- Frame up the roofing trusses and re-attach the garage to the house via the breezeway
- Add a new membrane roof, including a 2 inch slope over the length of the roof to facilitate water runoff towards the front of the house
- Form and pour the garage floor, driveway and breezeway slab
- Reinstall the doors and windows
- Dig a trench to the house, bury the conduit for the new electrical system
- Install a new panel in the garage and rewire the outlets and switches
- Add insulation to the walls and ceiling
- Reinstall the original plywood walls in the interior
- Reinstall the siding in it’s original locations
The project started in late August and wrapped up in November, with all the work done in accordance with the Standards and Guidelines for the Conservation of Historic Places in Canada.
Below are a number of photo galleries showing the various stages of the project, as well as the final outcome.
Disassembly
The first part of the project involved removing, cataloging and setting aside the siding, walls and clearing the way for the new foundation.
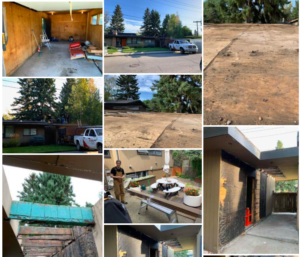
New Foundation
After all the old concrete was broken up and removed, a new footing was created well below the frost line to prevent any sort of future movement.

Reassembly
Once the new footing was in place, the walls were quickly put back in place, the roof trusses, then the new roofing system were installed and the new concrete pads around the garage were poured.
From there it was a matter of adding in the new electrical wiring, adding some insulation to the walls (not there originally) and placing all of the interior plywood paneling back in it’s original position.
On the exterior, the original (but refurbished) doors and windows were reinstalled, and the individually numbered pieces of cedar siding were brought back from the CHC workshop, refinished and ready to be reinstalled.
One thing we did, is to mill some new cedar stock for the siding that covers a roughly 4 foot section of the rear wall on the NW corner. Since that wall had the least sun and water damage, we kept those original pieces of siding (which were in excellent shape) for future repairs to the front façade of the house.
One of the fun things we uncovered during the disassembly of the garage is that the original builders of the Trend House had left a message and signed their names on the inside of the exterior wall (in pencil no less!).

So we had Erik and Ian from CHC sign the wall in the section next to the original ones to keep the tradition going.
Overall we are extremely pleased with the way that the project turned out, and it was fascinating to go through the process with Dave Chalmers and his team at Chalmers Heritage Conservation.
The fact that so much of the original material was able to be reused and was in such good shape really speaks to the value of following the Standards and Guidelines for the Conservation of Historic Places in Canada, and we are looking forward to doing the same on a number of other projects we have in mind for the future.