
Trend House Renovation
Once we moved back from San Francisco and took possession of the house in May 2002, it was time to take a look at the state of things and decide how to approach the renovation. At this point we had not uncovered the history of the house, but we knew we wanted to keep as much of it original as we could.
After going through the house there were a number of things we decided had to be done: 1) the experimental remote control electrical system had to be upgraded to a modern, grounded system, 2) any asbestos products would need to be removed and replaced and 3) in the top of the house, we’d need to replace the panelled wood with drywall, allowing us to upgrade the insulation at the same time. We realized that by removing some of the interior walls upstairs, we could gain access to the core of the house to do any electrical and plumbing work without disturbing any of the other parts of the house.
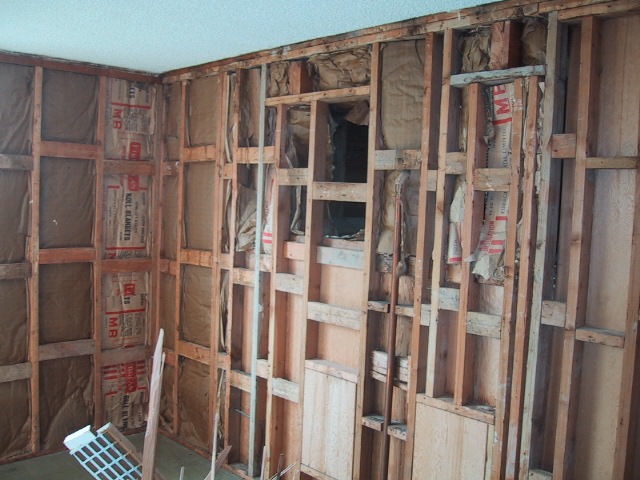
Demolition
You can really get a sense of how over-built the house was by looking at the framing between the master bedroom and the second bedroom. The walls were removed from the master bathroom as well, to facilitate the relocation of the toilet in order to allow us to install an enclosed shower stall. You can also see some of the asbestos tile that was used in the house. Professional removers were called in to remove the asbestos wall and ceiling that was in the furnace room, and to remove the kitchen sub-floor which we planned on strengthening in order to install the heavier tile flooring.
Renovation
Once the systems had been upgraded and the plumbing rearranged, we put the walls back together. Aside from the addition of the shower stall in the bathroom, the house looks exactly like it did before the renovations started, but now had systems that were up to code, as well as upgraded insulation in the rear of the house.
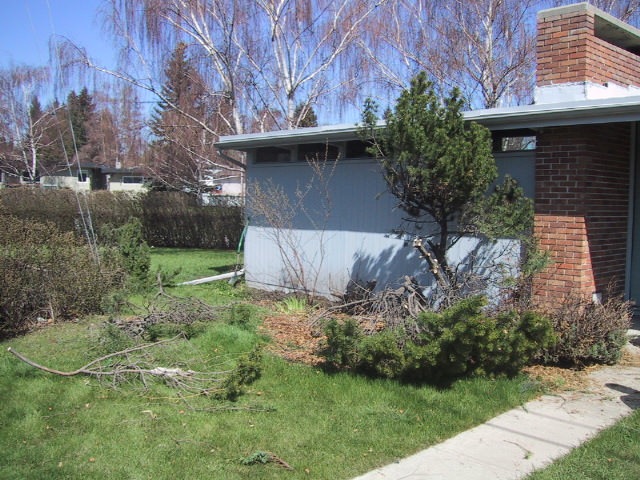
Removing bush from front of the house
Exterior Renovation
There were a number of things we noticed on the exterior of the house that required a bit of attention. One was a giant juniper bush that almost completely covered the entire section of the house west of the fireplace block. We also noticed that there had been a planter built below the dining room windows, and that the earth was sitting directly against the siding of the house. Amazingly the damage to the siding was (relatively) minimal but to avoid any more damage, we took out the planter and replaced it with one that doesn’t touch the siding.
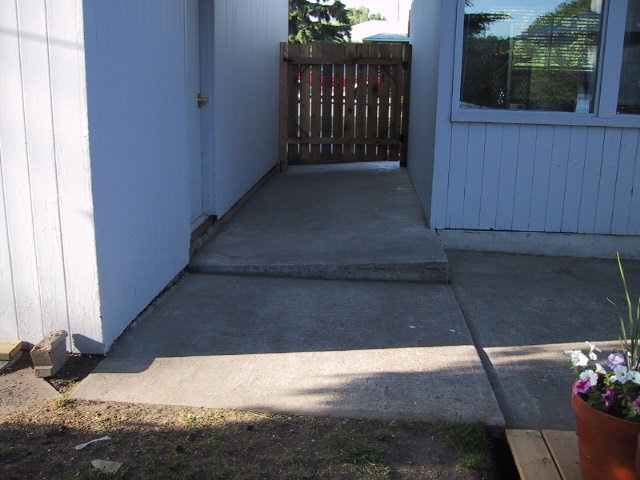
An image showing how the garage and patio slabs settled
Another thing we noticed was that there was some settling problems with the slabs at the rear of the house. In fact, over time the garage itself had settled 8 or 9 inches as as a result some of the slabs attached to it had leaned over as well. For some reason the back patio was poured in a number of independent slabs which meant we could try and bring everything back to level using a pumpjack system.
Raising the garage will take a little more effort and is planned in the next couple of years, but in the mean time we were able to raise the patio slab by about 6 inches to improve the drainage as well as making it fit in with the rest of the kitchen yard
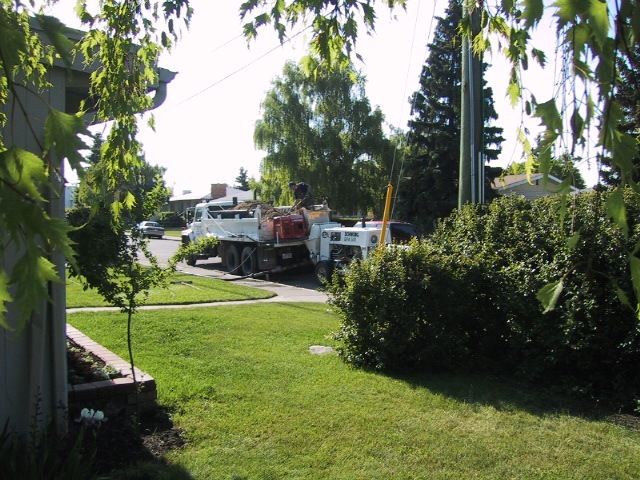
Pumpjack system ready to go…
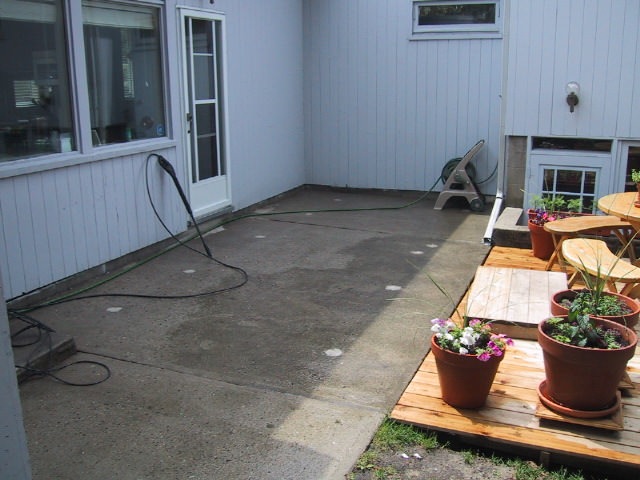
End result of pumpjacking the back patio slabs